 The Document Outline/Table of Content Generator
You can use the Document Outline panel to navigate your open Markdown documents and generate a Table of contents for longer documents at the cursor position.
Here's what the Document Outline looks like:

you can also drag and drop Document Outline links directly into the open editor:

Toggling the Document Outline
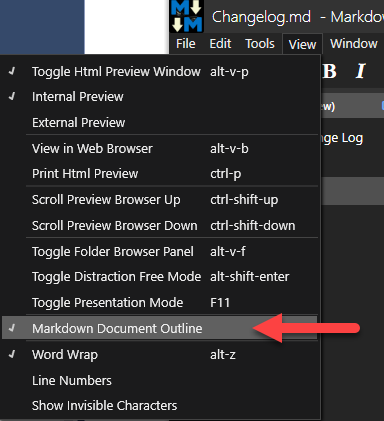
To toggle the Document Outline availability you can use View → Document Outline toggle to turn the outline panel on or off.
Navigation and the Document Outline
The primary use for the Document outline is to provide quick document navigation. You can click on any entry to navigate to that part of the document quickly. In reverse, navigating the Markdown document in the editor keeps the Document Outline in sync to the nearest header above.
The Document Outline sidebar is available only on Markdown documents and disappears on non-Markdown docs.
Embedding a Table of Contents
The button in the toolbar lets you generate a Table of Contents (TOC) as a list of Markdown links that point to the internal links of the page.
First time TOC Creation at Cursor Position
If no existing TOC existes in the document, a new TOC is created at the current location and starting and with headers below that location.
It's often common for the TOC not to include the document title and start at the first header or after an introduction or other start of document table. In those cases you can create the TOC after those headers.
The TOC is embedded into the Markdown document at the current cursor position, as a list of markdown tags delimited by HTML comments that identify the table of content and allow the TOC to be replaced on subsequent re-generation.
The generated TOC picks up header tags that follow the current content only. In other words the TOC only shows links of the content below the cursor position. This is meant to remove the document header, or introductions which often are not meant to be in an explicit outline.
Here's an example of a generated TOC:
<!-- Start Document Outline -->
* [Weblog Publishing](#weblog-publishing)
* [Installation](#installation)
* [Links](#links)
* [Show your Support](#show-your-support)
* [Features](#features)
	* [Markdown Editor](#markdown-editor)
		* [Image Features](#image-features)
		* [Editing Features](#editing-features)
		* [Output and Selections](#output-and-selections)
		* [Theme Support](#theme-support)
		* [File Operations](#file-operations)
		* [Weblog Publisher](#weblog-publisher)
		* [Non Markdown Features](#non-markdown-features)
	* [Command Line features](#command-line-features)
	* [Why another Markdown Editor?](#why-another-markdown-editor)
* [Acknowledgements](#acknowledgements)
* [Spread the Word about Markdown Monster](#spread-the-word-about-markdown-monster)
* [License](#license)
	* [Contribute - get a Free License](#contribute---get-a-free-license)
	* [Warranty Disclaimer: No Warranty!](#warranty-disclaimer-no-warranty)
<!-- End Document Outline -->
Subsequent Table of Contents Generation
If a TOC already exists in the document and you embed a new one, MM will replace the existing table of content starting from the location of the already embedded TOC.
If you want to move the TOC to a new location or change the what's included, delete the old TOC and then regenerate in the new location.
Setting the Max Outline Level
The default max outline level is H1 - H4 meaning all headers up to H4 are included in the outline and Table of Contents creation, but H5 and H6 are not.
You can customize the outline level via the MaxDocumentOutlineLevel configuration switch in MarkdownMonster.json or by using the Document Outline context menu:
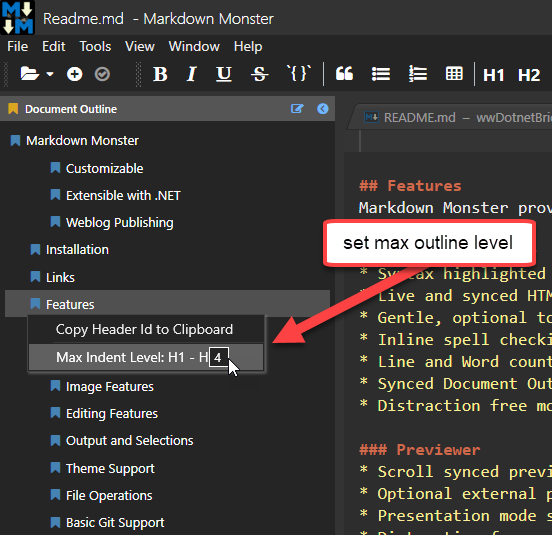
The textbox lets you type in a number between 1 and 6 to specify the max outline level. 3 or 4 generally will be a good outlining level to use (4 is the default), but it depends on your writing style.
Comment or report problem with topic